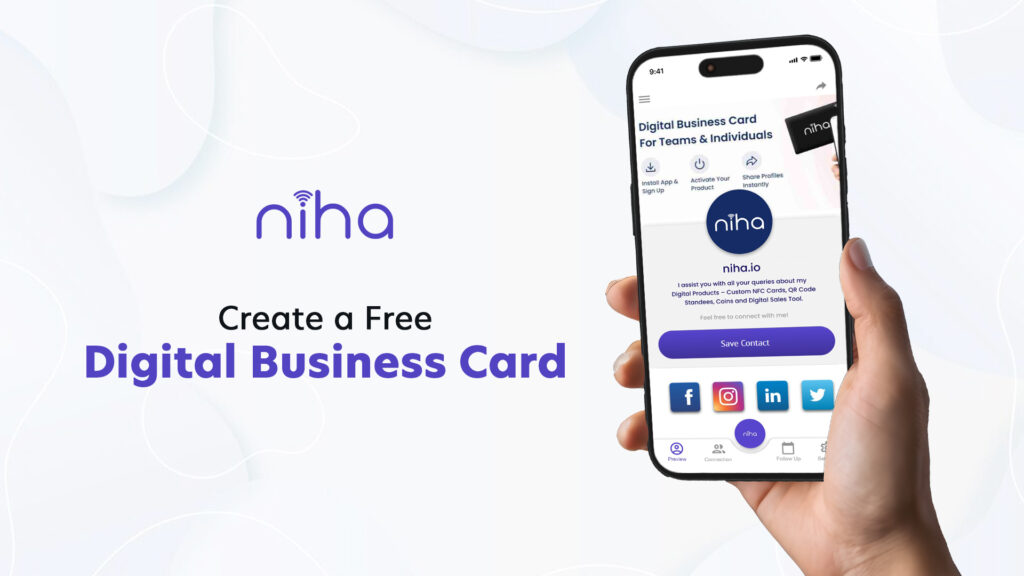
Visiting cards are the foundation of business success. An attractive business card can help you generate more leads and increase your customer base. Many entrepreneurs don’t understand this and lose their business to someone else who does. A well-designed digital visiting card can create a positive first impression, increasing your chances of winning business.
You need a digital business card that looks aesthetic and professional to succeed in business. However, creating an ideal virtual business card can be challenging for individuals who haven’t done it before. If it’s your first time making a visiting card, read this blog to learn how to create a digital business card in minutes.
5 Steps to Creating a Digital Business Card
You need the best digital business card maker to make a digital business card. We know you won’t like wasting your time finding one. That’s why we are here with a solution – the Niha app. This app allows you to create a 100% virtual business card for FREE. Here are the steps you need to follow to create a digital business card:
1. Download the Niha App
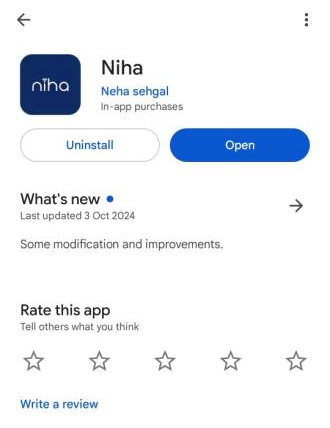
As mentioned above, you need a digital business card maker to create a digital business card. We will create the card using the Niha app, which allows you to create a virtual business card for free. This digital business card maker application is available for both Android and iOS devices. Search this application on Playstore or Appstore or download the app directly from here.

2. Create Your Account
After downloading the application, open it on your device and create an account to create a digital business card online. Here is how to create an account on the Niha application:

- Tap on “Create an Account.”

- Enter your email and password of your choice in the next window.
- Your password must be eight characters or longer and include at least one uppercase letter, one lowercase letter, one number, and one special character.
- Confirm the password by entering it in the next field.
- Accept the terms and privacy policy.
- Tap on the “Next” button.

- You will receive an OTP email you entered on the previous window.
- Enter the OTP to confirm your email address.
- After entering the OTP, tap “Verify.”
- If you don’t get OTP, you can resend it after 2:00 minutes.

- Enter your first name and last name.
- Then, select your country code.
- Enter your phone number.
- Tap “Create New Account.”
After this, you will be prompted to add a photo to your profile.

- Tap “Add a photo.”
- You can click a new picture or select from your gallery.
- Tap “Skip this step” if you don’t want to add a photo to your profile.
- You have successfully created an account!
3. Design Your Card
After creating an account on the Niha app, your next step is to design your card. Here is how to do it:

- Tap the “Niha” button located at the bottom.

- Tap “About” to enter your details.

- Enter all the required details.
- Once you are done, tap “Save.”

- Tap the “plus (+)” sign to open the Link Library.

- Select your preferred links from the Link Library to create a digital business card. Here are the link options you get in the app:
- Social Media,
- Quick Access Buttons,
- Communication,
- Business,
- Payments,
- Media,
- Directions,
- Event,
- Wifi, etc.
4. Add the Relevant Info to Links
After selecting the links you want to add to your digital business card, add the required information to each link. We will try to add a phone number to the digital business card to help you understand the process:
- Find the phone under the communication tab.

- Tap “Add” next to the logo.

- Select your country code.
- Add your phone number.
- Change the title if you want.
- Turn on highlight (for important links).
- You can customize the icon to give your card a unique look.
- Tap “Save Link.”

- Click “Preview” to see how your digital business card looks.
Note: You can add links for social media, business, payments, etc., similarly. If you face any issues adding links, please contact customer support.
5. Share Your Digital Business Card!
Once you add all the links, you can share your digital business card with your potential customers remotely. Here is how to share your digital business card:
- Tap the three lines at the top left corner of your screen.

- A navigation list will open on your device.
- Choose “share” from the list.

- Upon clicking, you will be redirected to the sharing window.
- You can share your digital business card in three ways:
- Download the QR code by tapping it and share it with your clients.
- Copy your virtual business card’s link and share it with your potential customers.
- Tap app icons (i.e., Instagram, WhatsApp, Email, or other) to share your digital business card through those platforms.
This card is 100% digital, allowing for remote networking. For in-person networking, consider purchasing an NFC business card from Niha.
Here’s the difference between NFC Business Card and a Digital Business Card
In Conclusion
Every business is shifting to digital cards as these cards allow remote networking, helping reduce carbon footprint and money to a great extent. Many individuals are interested in creating digital business cards for their businesses but don’t know the process. This blog provides comprehensive information on how to create a digital business card online for free.
You can follow the steps mentioned above to create a digital business card and network remotely. If you prefer in-person networking, consider purchasing our 24-carat custom gold card to impress your customers with a simple tap or with QR Code. Please contact our sales team to learn more about our NFC business cards!

